
Step 1: Set up your editor account - Become a collaborator.
In the build up to your website launch, we send out email invites to your nominated collaborators on your site. The email should
contain a link inviting each collaborator to set up an account.
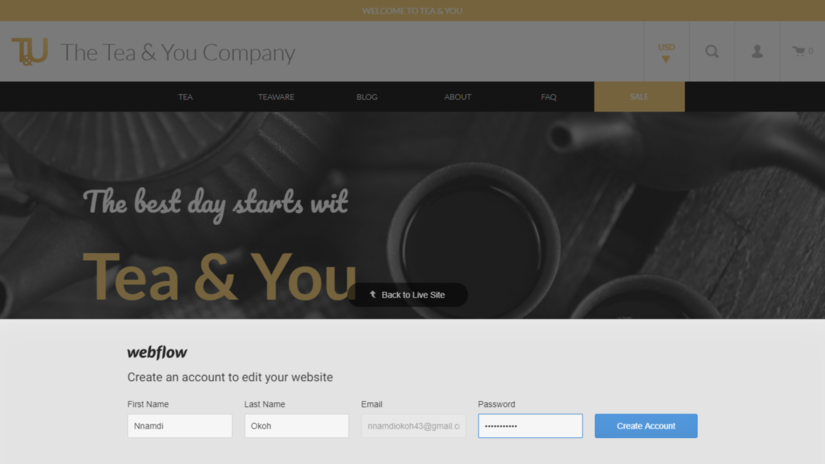
Step 2: Accessing the content editor.
After creating an account, any collaborator can access the Editor for their website by adding /?edit to the end of their website URL in the browser address bar (e.g., yourwebsite.com/?edit). When collaborators return to the site later, they may see a little pencil icon in the lower right, which they can click to hop into their CMS. All collaborators need to log in to access the Editor.

Step 3: Find products collection.
Once the editor is accessed, the main navigation menu is available at the bottom of the screen. The main options are Pages, Collections and Forms. We focus on the Collections option in this tutorial as this is where you can find information about your products. Clicking on the collections tab should display all the collections available on your website. See image below:
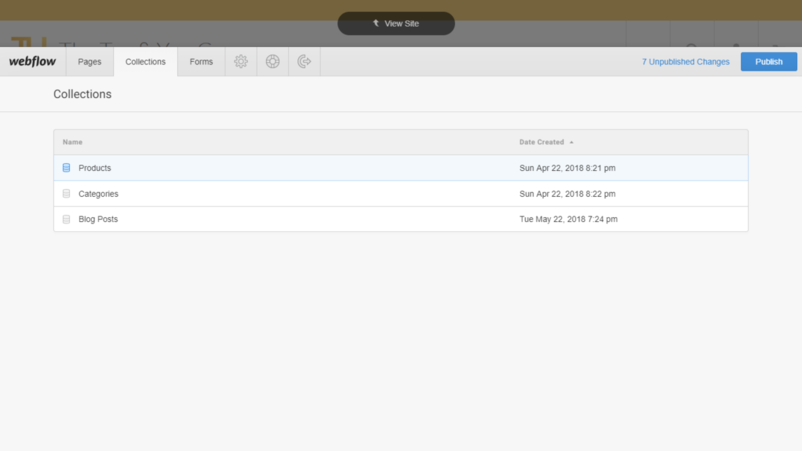
As displayed in the image above, the collections are usually named according to the information they contain is identified easily. To access products information, simply select products.
Step 4: Add a product.
Clicking the Products collection will bring up a list of all products available on the store. Simply add a new product by selecting the green 'New product' button at the top right of the collection page.

The screen will now display a form requesting information about the product. You'll notice little helper texts for each section to guide you as you fill out the form.
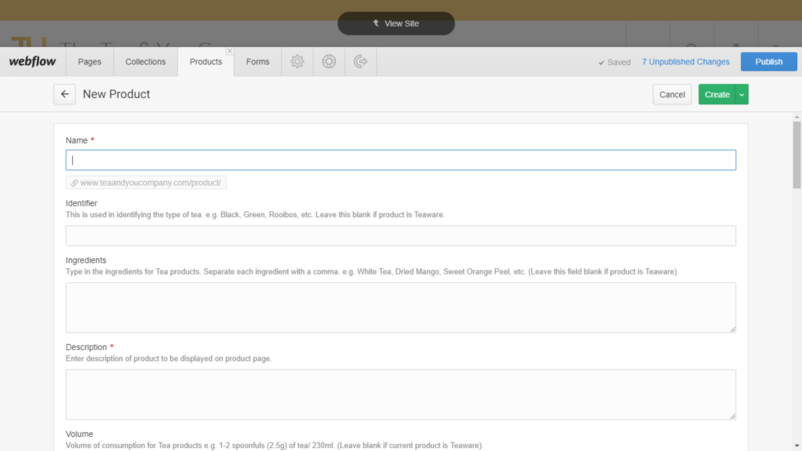
Complete the form by providing the information required in each section.
Once the form is complete, click the 'Create' button at the top right of the screen to add the new product to the collection. If you're not quite finished with the product, you can save the product as a 'Draft' by clicking the arrow icon next to the green create button. You should see the Save as draft option here.
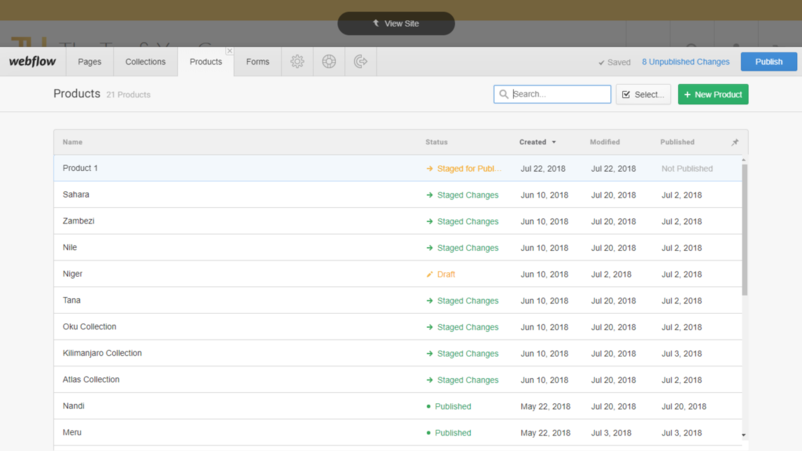
New product should be available in the products collection after saving.
NB: Draft products will not appear on your website. This can also be used to make specific products unavailable on the site. We will show an example of this in the Managing products Tutorial.
Step 5: Publish product to website.
Once you're done editing product information, simply use the blue 'Publish' button in the top right to publish changes to the website. It's important to ensure all changes are correct before carrying out this step so make sure to double check that all fields are filled out correctly.
You're all done! Once published, your new product should be available for your customers to purchase.