
Accepting Paypal payments on your website has never been simpler. All you need to do, is connect a Paypal business account on the dashboard. We've created this 3 step guide to show you how you can set up a Paypal Business account and link it to your website via Terminal.
Step 1: Create a Paypal Business Account.
To accept payments on your website via Paypal, you must create a Paypal Business account. If you already have a Paypal account, you can upgrade your existing account to a business account. Visit the Paypal business account setup page here and follow the steps to get started.
Step 2: Create an App for your Website on Paypal.
1. When your business account is approved, visit the Paypal developers website here, and login using your Paypal credentials.
2. Once logged in, your screen should look like the below screenshot.
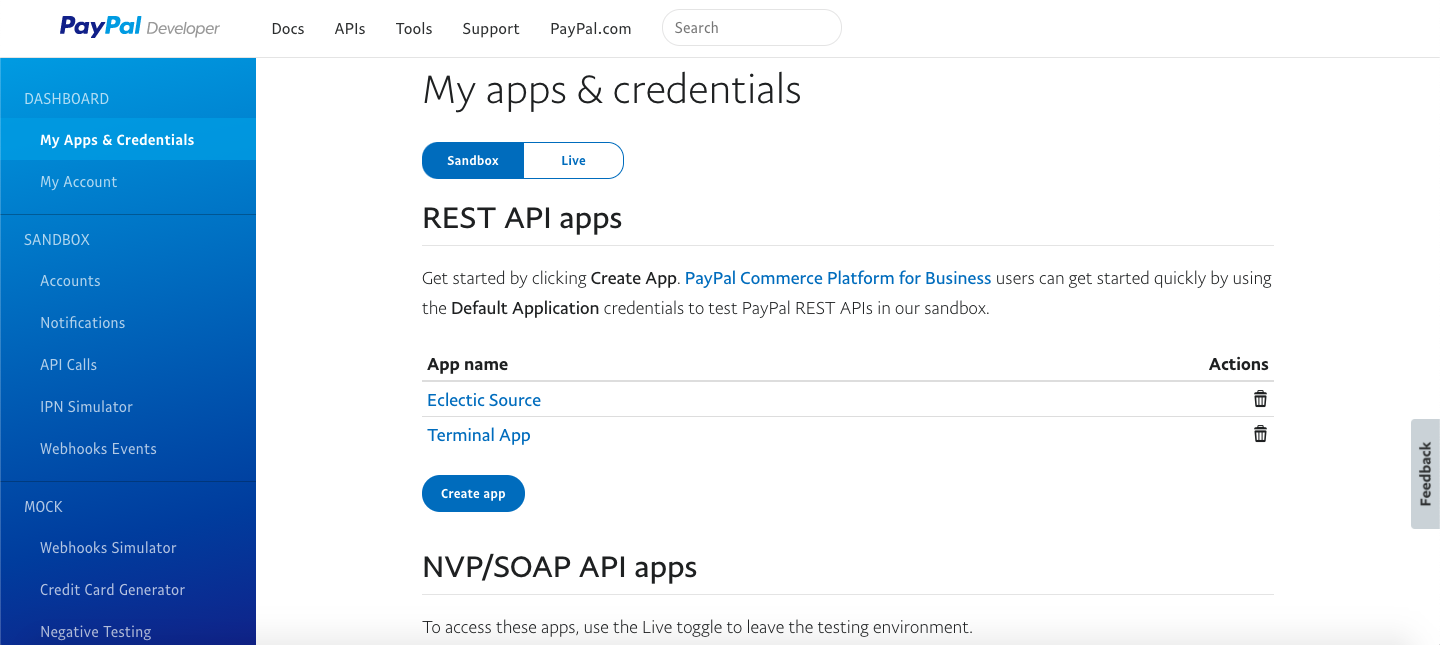
3. At the top of the screen, select the Live option and click the Create App button.
4. Enter your business name as shown below (replace "Business Name" with your actual business name) and click the Create App button.

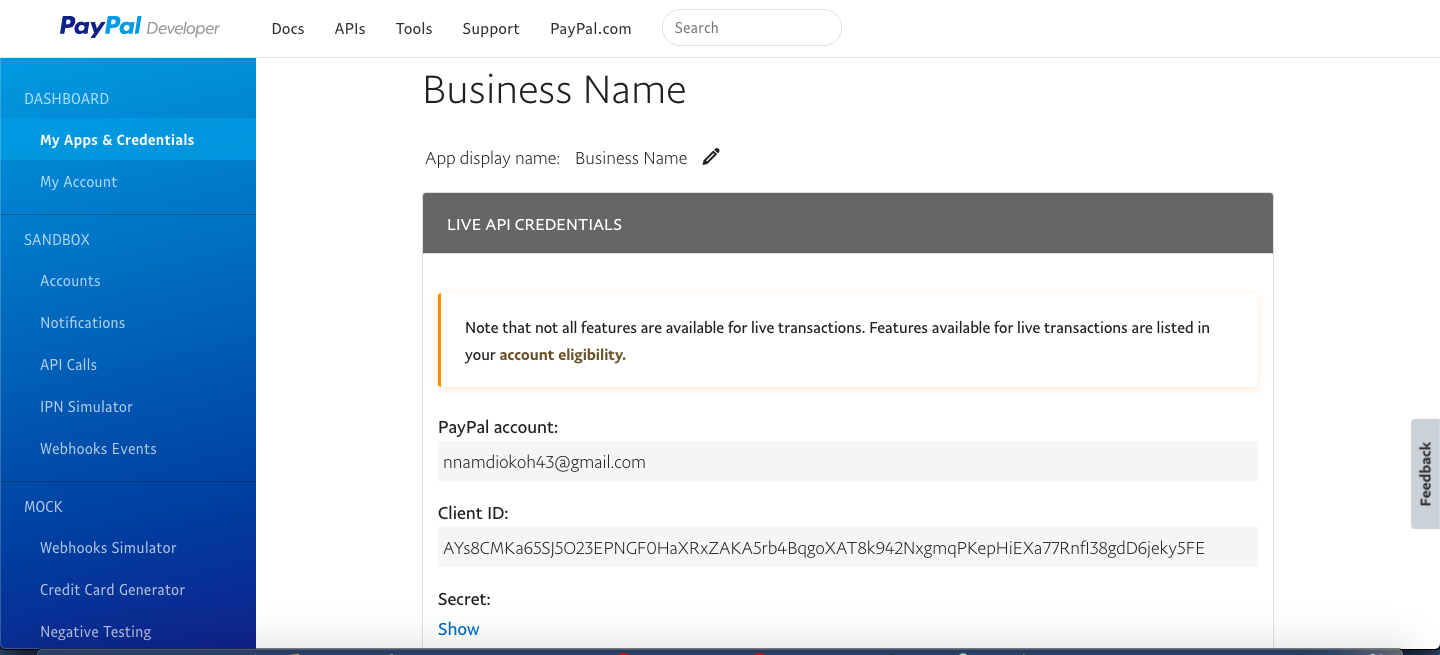
5. Once your app is created, your new business page should now be visible as shown below.
6. On the business page, scroll down to App Feature Options section and ensure the following options are enabled: Accept Payments, Invoicing, Payouts, Customer Disputes and Paypal Here.
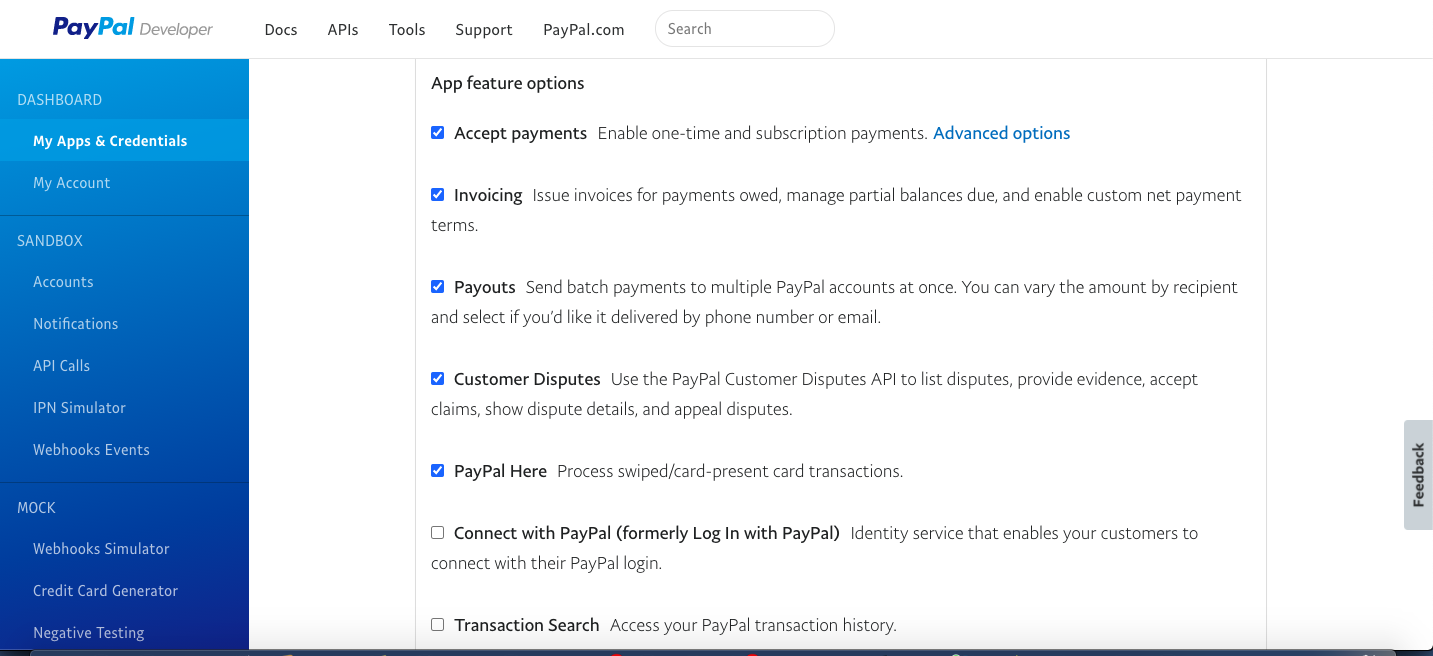
7. Once that's done, select Save.
8. Keep the business page open as you'll need information from the page for the next step.
Step 3: Log in to Terminal and Link Paypal App.
1. Log in to the Terminal dashboard here and select Settings on the left navigation menu.
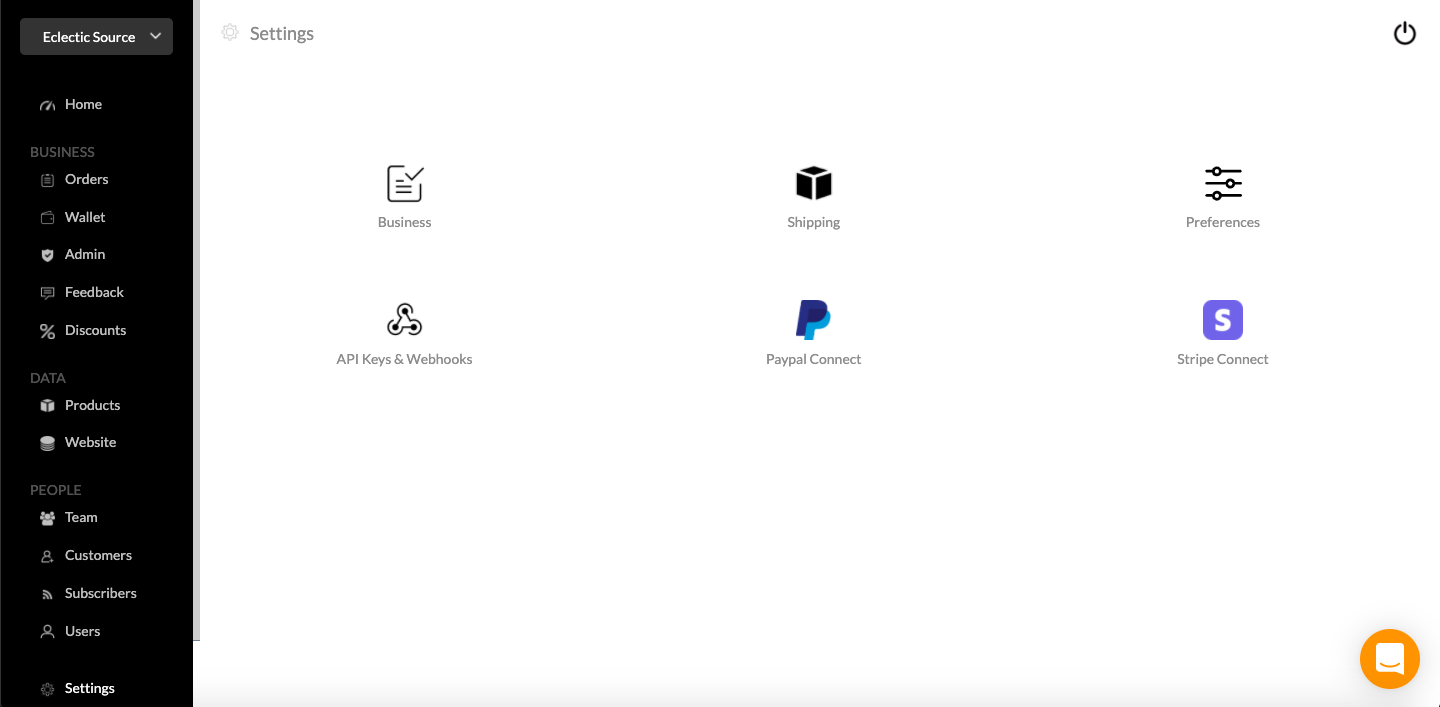
2. On the settings page, select the Paypal Connect option.
3. Once on the page, turn the Paypal switch on, and you should see options to provide a Client ID and Secret.
.png)
4. On your Paypal Business Page, you should see your Client ID just under your Paypal account email as seen below.
5. Copy and paste the value for the Client ID to the Client ID section on Terminal.
6. For the Secret, click the show button and copy and paste the value to the Secret section on Terminal.
7. Once complete, click Save Changes and your settings will be updated.
That's it! If the details are copied correctly, your customers will now see an option to make payments via Paypal on your website, or when you send them an order link.