
Great news! Mailchimp for Terminal is here, bringing with it a whole bunch of new features. This was a core feature request we received from most users, so it really makes us happy to finally release this for everyone. This resource will first describe what Mailchimp is, so you have a basic understanding of the tool. Second, it will describe the core features that will be available to you when you integrate your Terminal store with Mailchimp. Finally, it will describe what you need to install this add-on for your store.
What is Mailchimp?
Mailchimp is a marketing automation platform that helps you share email and ad campaigns with clients, customers, and other interested parties (Mailchimp, 2019). It helps you stay connected with your audience (and find more people just like them), so you can eliminate repetitive tasks and focus on other parts of your business. With the right information, it allows you to target people based on behavior, preferences, and previous sales—and use this intel to do things like welcome new subscribers, reach out to people who abandon their online shopping carts, and win back lapsed customers—automatically.
What features will be available when I install this add-on?
Add customers and subscribers automatically to Mailchimp
When a customer completes an order, or a user subscribers on your site, Mailchimp for Terminal will automatically subscribe them to your Mailchimp list.
Automate email campaigns
When you connect your Terminal store, you can create workflows to automatically send abandoned cart messages encouraging shoppers to complete their purchase, follow up with your customers that visited your site with re-targeting emails, re-engage inactive customers with incentives and relevant product recommendations, or reach out to customers after they buy an item from your store.
Use your purchase data to personalize your marketing
Create a custom segment to identify customers based on demographics, engagement, and purchase history. Target segments with their own personalized messages, welcome your new subscribers, reward the loyalty of repeat buyers, or incentivize lapsed customers to return.
Mailchimp can also generate recommended products based on a customer’s past purchase activity, allowing you to serve customized suggestions by inserting a Product Recommendations.
Mailchimp for Terminal can pick up on on sales generated and display the data in a detailed campaign report, so you can measure the success of your campaigns and optimize your marketing strategy.
Facebook and Instagram Ad Campaigns in Mailchimp
Combine your email marketing efforts with Facebook and Instagram ads to create an integrated marketing campaign that makes it easy to target loyal customers, or new customers that are similar to your current list of subscribers to reach those more likely to like your products. Mailchimp Reports will tell you your ROI and how many customers you’ve acquired, helping you measure how effective all your marketing efforts are through Mailchimp.
Add discount codes created in Terminal (Coming Soon)
Add discount codes created on the Terminal Dashboard to your emails and automations with a Promo Code content block
What do I need to install this add-on?
To install the add-on for your store, follow the step guide below.
Step 1: Add a business address for your store.
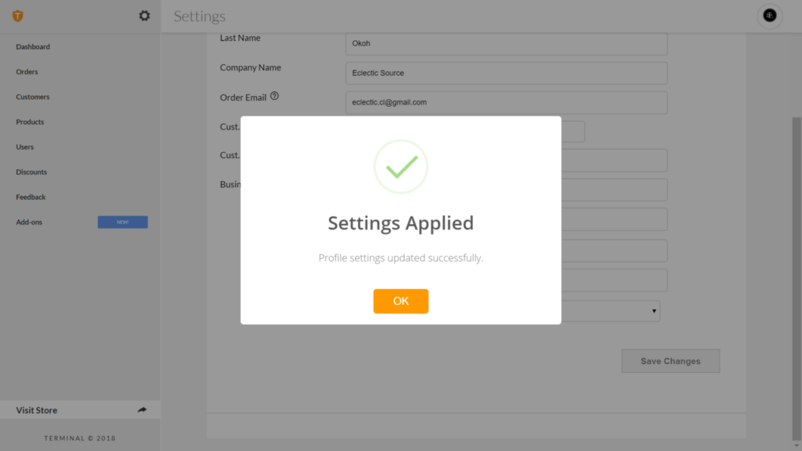
To connect your store to Mailchimp, you need to provide a business address. To add a business address for your store, simply visit your store settings by clicking on the gear icon on your dashboard.
Under the account settings tab, fill in your store's business address and any other missing fields and click the save button on the bottom right. If saved correctly, you should see a message as in the screenshot below.
Step 2: Retrieve your Mailchimp API Key.
Your API Key is a unique key that lets terminal identify your mailchimp account when connecting your store. You can simply retrieve this by following the steps available here: Find my API Key.
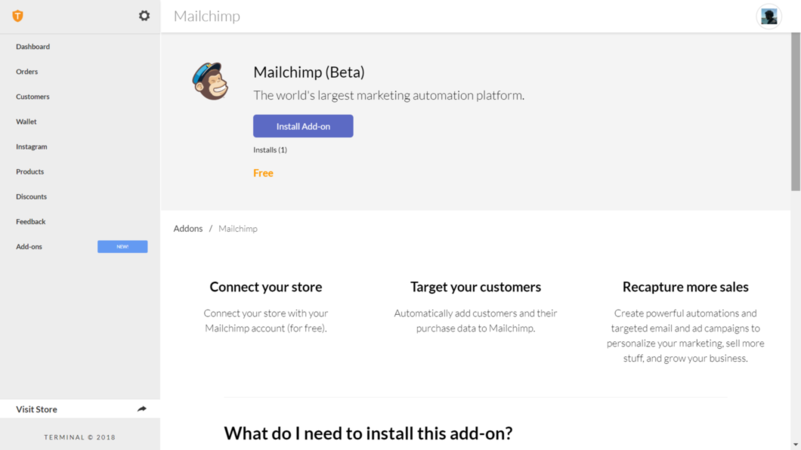
With your business address saved, and your API Key on hand, you're now ready to install the Add-on. Navigate to the add-ons tab on the main navigation and select the Mailchimp add-on to start the installation process.
As a follow-up to this post, we will be adding more guides to help you set up common Mailchimp automations such as sending a thank you to first time customers, setting up abandoned cart reminders, and custom order notifications.
As always, if you have any questions, or any issues with this add-on, you can reach out to our team at team@theeclecticsource.com.